

")
Creating perfectly black royal icing can feel like a frustrating challenge, especially when you’re baking for those special occasions like graduations. Whether you’re decorating cookies for a loved one or perfecting your craft as a home baker, achieving a rich, deep black without staining everything around you (or your guests’ teeth!) is well worth the effort. If you’ve ever felt stuck with dark grey icing instead of true black—or dealt with flavor-altering amounts of food dye—this guide is for you.
With a few smart techniques, the right tools, and a little patience, you can achieve stunning black icing that’s mess-free, delicious, and just the right consistency.
Table of Contents
Perfect Black Royal Icing: Tips, Tricks, and Techniques
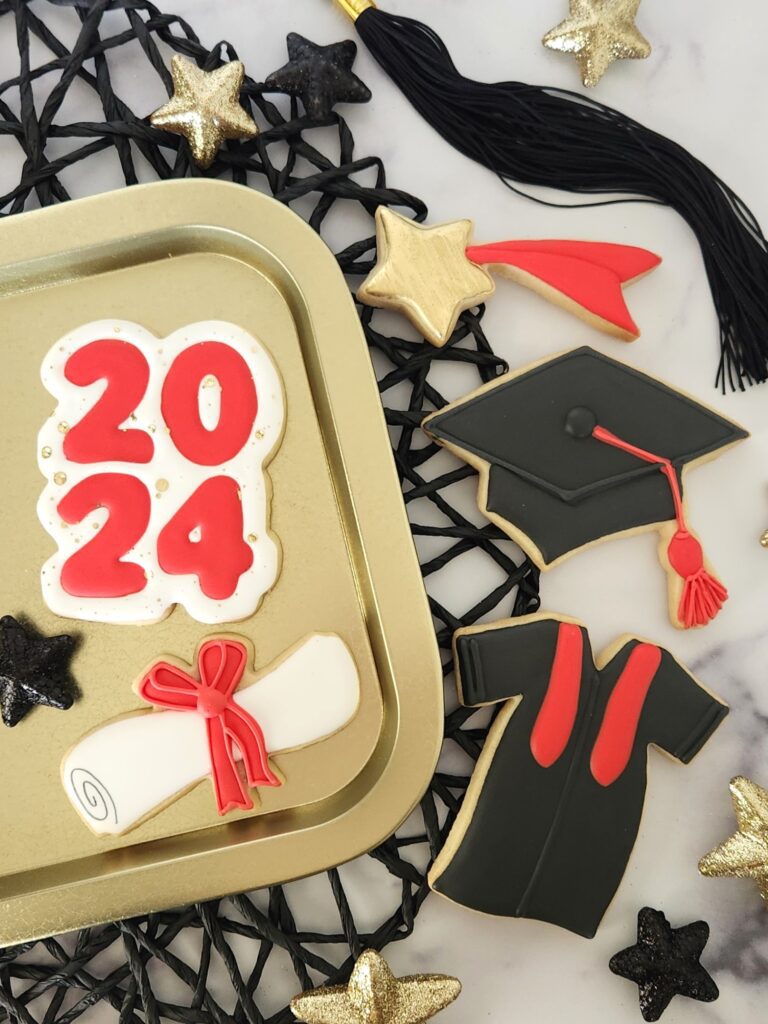
It’s the time of year where we are creating stunning graduation cookies to celebrate scholarly achievements. And, what does that call for? Perfectly black royal icing. But, what’s more frustrating than planning a deep rich black color for our cookies only to come up with something that could best be described as dark grey? Or even worse, your guests teeth show the lingering evidence of black royal icing!
Achieving a true black can be tricky, often requiring a lot of food coloring, which can lead to staining, altered taste, and runny icing. But don’t worry! With the right techniques and a few clever tricks, you can achieve deep black royal icing without the mess and frustration.
How to make black frosting? 3 Tips:
1. Laying the Foundation: Starting with a Darker Base
One of the simplest ways to reduce the amount of black food coloring you’ll need is to start with a darker base. This strategy not only saves you time and effort but also maintains the flavor and consistency of your icing.
Solutions to Start on the Right Shade:
- Chocolate or Black Cocoa Base: Starting with chocolate icing naturally creates a darker foundation. If you want to go a step further, opt for black cocoa powder, which is darker than regular cocoa and works wonderfully in both royal icing and buttercream bases. Bonus? It adds a delicious chocolatey flavor!
- Repurpose Leftover Icing: Stuck with leftover icing from previous projects? Mix those leftover colors together to create a dark base. The mixed hues will usually result in a deep grey or brown shade, ready for a touch of black gel to complete. Since your starting color is already darker, you’ll need far less food coloring to achieve your desired tone.
With your base ready, it’s time to move on to the most essential ingredient—your food coloring.
2. Choosing the Right Black Food Coloring
Not all food colorings are created equal, and the type you choose has a huge impact on everything from color intensity to staining and taste. Here’s how to pick the perfect black food coloring for your royal icing.
Why Gel Colors Are King:
- Highly Concentrated: Unlike liquid food coloring, gel is incredibly concentrated, so you use less to achieve bold colors. This means your icing consistency stays intact, and you don’t have to flood your batch with excess liquid.
- Minimized Staining: Less pigment equals less chance of staining countertops, hands, and teeth. A win-win!
Recommended Gel Brands:
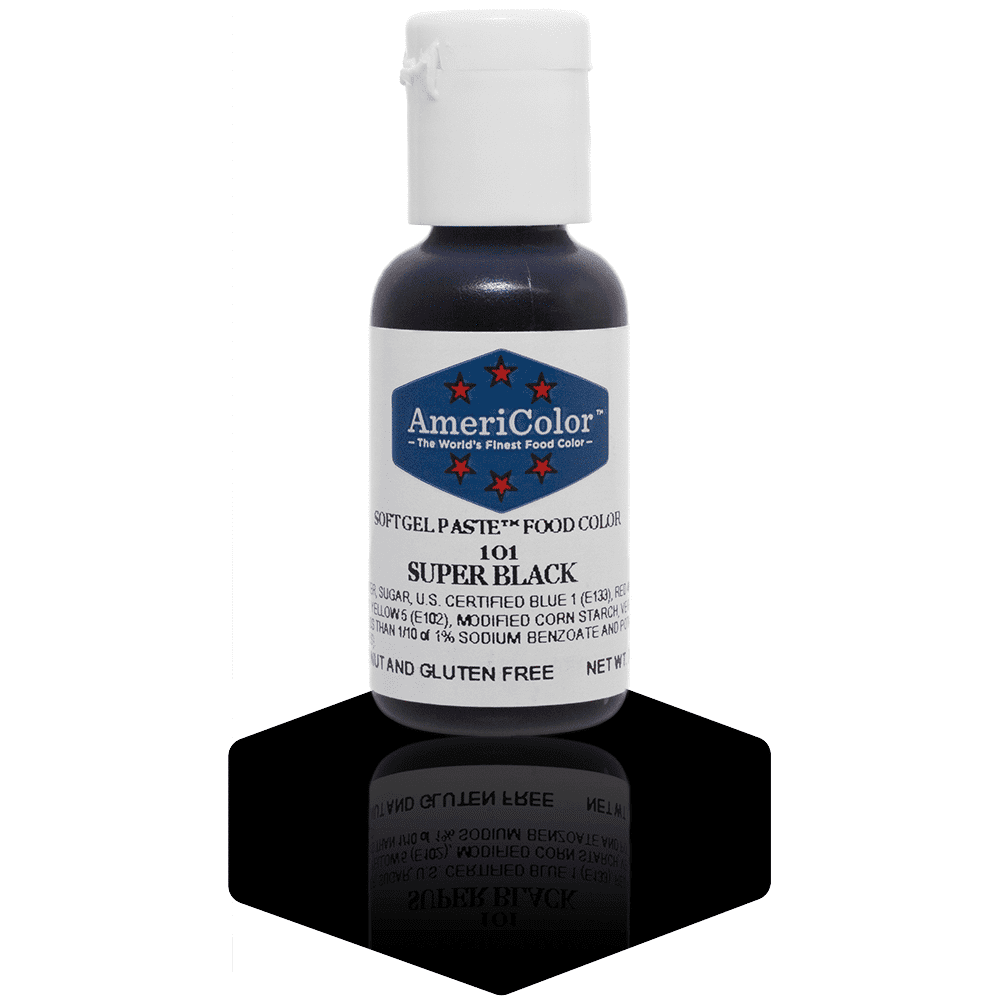
- AmeriColor Super Black: My personal go-to! Reliable, rich in pigment, and doesn’t leave an aftertaste.
- Chefmaster and Ann Clark: Other strong contenders that provide consistent performance with a smooth application.
- The Sugar Art: While their offering isn’t a true black, it’s worth exploring for its vivid and clean results.
3. The Magic of Time: Let It Rest Overnight
Patience is the secret ingredient for achieving rich black royal icing. After mixing your colors, store the icing in an airtight container and let it rest at room temperature overnight.
Why This Works:
- Natural Color Development: The color will deepen significantly as it rests, requiring little to no additional food coloring the following day.
- Flavor Preservation: Since you add less dye, the icing retains its delicious taste without the bitterness sometimes caused by over-coloring.
By the time morning rolls around, your icing will likely transition from charcoal grey to the perfect deep black. Trust me, this trick is a game-changer.
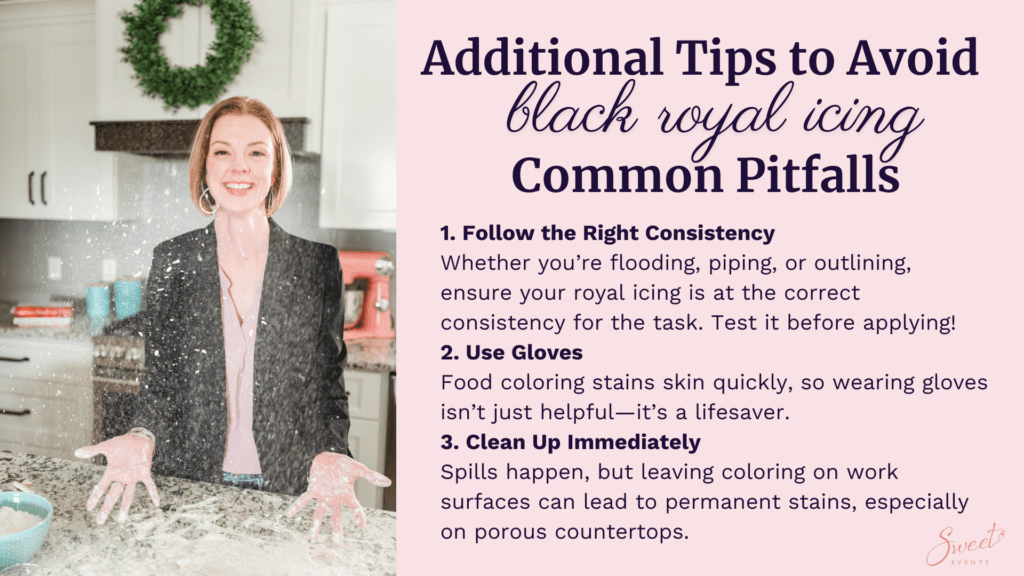
Additional Tips to Avoid Common Pitfalls
Want to take the stress out of creating black royal icing? Keep these practical tips in mind:
- Follow the Right Consistency: Whether you’re flooding, piping, or outlining, ensure your royal icing is at the correct consistency for the task. Test it before applying!
- Use Gloves: Food coloring stains skin quickly, so wearing gloves isn’t just helpful—it’s a lifesaver.
- Clean Up Immediately: Spills happen, but leaving coloring on work surfaces can lead to permanent stains, especially on porous countertops.
In Summary: Your Foolproof Formula for Black Royal Icing
Here’s a quick rundown on how to create perfectly black royal icing:
- Start Dark: Use chocolate icing or blend leftover colors to create a dark base.
- Choose Gel Colors: AmeriColor Super Black or similar high-quality gels will give you a rich color while keeping your icing’s consistency intact.
- Let Time Work for You: Mix, cover, and let the magic happen overnight.
- Stay practical: Wear gloves, check your consistency, and clean up spills right away.
These strategies ensure deep black royal icing that’s mess-free, delicious, and perfect for any occasion.
Bonus Idea: Graduation Cookie Decorating Inspiration
If you’re feeling inspired to practice your new skills, why not use graduation-themed cookies as your canvas? Whether it’s creating elegant caps and gowns or fun diplomas, black royal icing adds sophistication to your designs. Stay tuned for future courses where you can learn my step-by-step methods for decorating like a pro. In the meantime, don’t let this stop you from experimenting and having fun with your cookie creations!
Meet Megan Oliverio: Your Cookie Coach
Hey, I’m Megan! I help frustrated home bakers transform their cookie game, going from bland, flat creations to stunning, bakery-worthy cookies you can proudly share. Together, we’ll tackle everything from baking no-spread sugar cookies to mastering the art of royal icing. Let’s turn your kitchen struggles into sweet success!
If you’re excited to take your decorating skills to the next level, drop a comment below and let me know your favorite tips—or share a pic of your perfectly black royal icing creations. I can’t wait to see what you make!
For available online courses visit – https://sweeteventswv.com/courses


0 Comments