


Ever rolled out what felt like the perfect sugar cookie dough, only to end up with uneven cookies or misshaped edges? You’re not alone! It’s one of the most frustrating parts of cookie baking. Rolling dough can stick to your counter, crack under pressure, or bake into lopsided circles. The good news? It doesn’t have to be this way. With just a few simple tips and a little know-how, you can finally roll out dough that makes perfectly shaped, delicious cookies—no frustration required. These tips are the foundation for a successful cookie-making session, and they’re a key part of my online cookie course, where I share even more hands-on help to take your skills to the next level.
Table of Contents
Why Rolling Dough Properly Matters
1 – Saves Time (and Dough!)
When you roll your dough correctly, you get more consistent cookies from the start. This means less waste from misshapen edges and fewer remakes, saving you both time and precious ingredients.
2 – Leads to Even Baking
Cookies that are all the same thickness bake at the same rate. This consistency is crucial for achieving that perfect texture—a soft center with crisp edges—and prevents some cookies from burning while others remain underbaked.
3 – Makes Decorating Easier
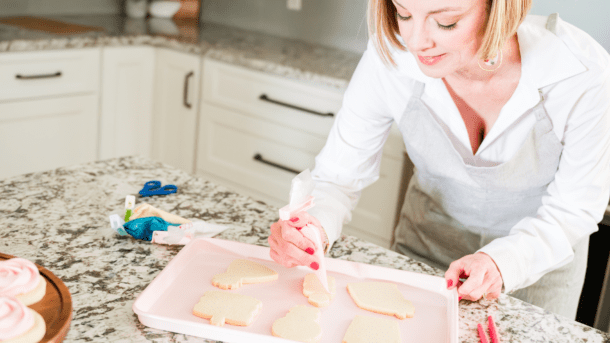
A smooth, flat cookie is the perfect canvas. A consistent thickness creates a flawless surface, making it much easier to flood and pipe detailed designs without icing dripping over the edges or pooling in uneven spots.
4 Tools You Need for Success when Rolling Dough
Megan’s Must-Have Tools
- Rolling pin: A standard rolling pin is all you need to get started. (An extra tool: Thickness rings for your rolling pin can really up your game.) Link: https://amzn.to/3OWFrGR
- Large, smooth countertop or rolling mat: A clean, flat surface is essential for preventing sticking. Link: https://amzn.to/4p1wNnY
- Bench scraper: Perfect for scraping up any stuck-on bits or for lifting dough without tearing it. Link: https://amzn.to/4g5aWrS
- Chill tray or baking sheet: An absolute must for firming up your dough before baking. Link: https://amzn.to/4n42M56
“You don’t need fancy tools—just a few smart ones that help you work efficiently and consistently.” – Megan
Step-by-Step Guide to Rolling Out Cookie Dough
1 – Work with Fresh Dough
For our specific no-spread cookie recipe, the key is to roll the dough straight from the mixer. While it’s still at a workable, room temperature consistency, it’s easy to flatten without cracking. This approach helps you get a smooth, even sheet every time.
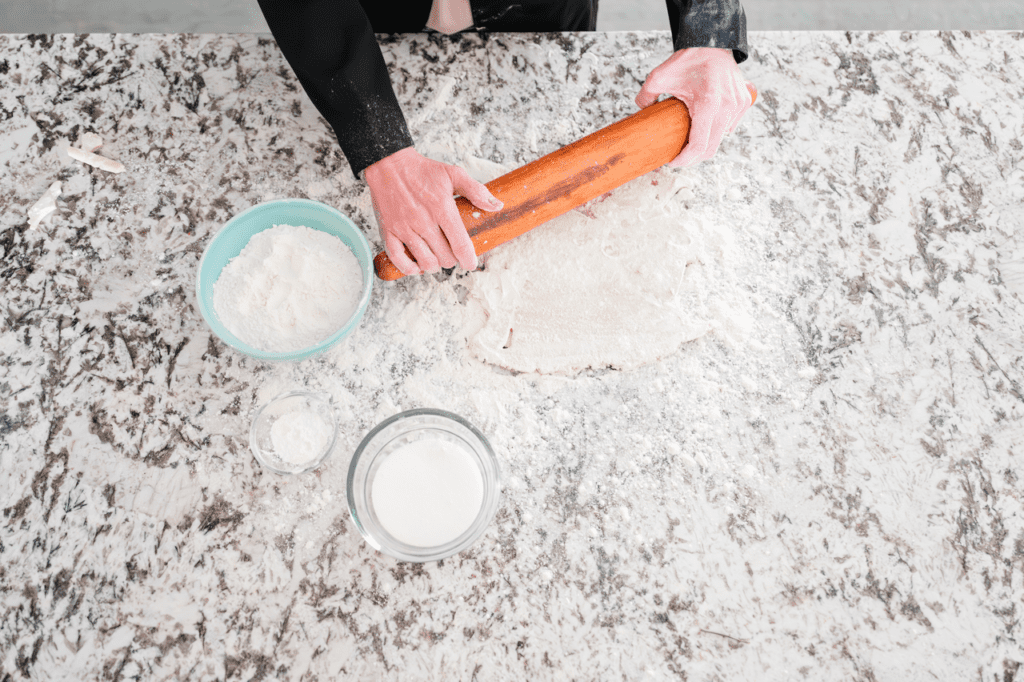
2 – Prepare Your Surface
To prevent your dough from sticking, start by lightly dusting your countertop or rolling mat with a small amount of flour. Be careful not to use too much, as it can dry out your dough.
3 – Focus on Even Thickness
As you roll, pay close attention to your pressure. Apply steady, even pressure across the entire surface of the dough to get a consistent thickness. Aim for a thickness of about ¼ inch for most sugar cookies.
4 – Rotate the Dough As You Roll
After a few rolls, lift and gently rotate your dough. This prevents it from sticking to the surface underneath and helps you apply even rolling pressure, creating a perfectly uniform sheet.

Megan’s Bonus Tips for Rolling Success
- Lightly flour your rolling pin if you’re working in a warmer kitchen to prevent sticking.
- Clean and chill your surface before you start. A cool surface helps prevent the dough from getting soft too quickly.
- Reroll scraps only once. Overworking the dough can make your final cookies tough, especially if you are rolling onto a floured surface. (*In my course, I share with you my rolling strategy – no flour and every last drop of dough gets used!)
- Store rolled dough in an airtight container or wrapped in plastic wrap in the freezer.
Avoid These 4 Common Mistakes
- Rolling too thin: This can lead to crispy, brittle, or unevenly baked cookies.
- Adding too much flour: Excess flour can dry out your dough, resulting in tough or crumbly cookies.
- Using too much force: Pressing down too hard can cause the dough to stick, tear, and have uneven thickness throughout.
- Not lifting the dough to check for sticking underneath.

Want More Confidence in the Kitchen?
These tips are just the beginning! If you’re ready to master sugar cookies — consistently creating the perfect dough for beautiful cookies — my Online Sugar Cookie Course is the perfect next step. You’ll get clear video demos, printable guides, and all my best tips in one place, giving you the confidence to bake and decorate like a pro.
[Link to course] Or, join my email list and get my Must-Have Tools for sugar cookie baking here!

0 Comments